One of the most important things you can do with analytics is to track your funnels. Whether you have a 5-step funnel or a simple, two-step funnel, it's important to be able to track your funnel's conversion rate. In a previous post we talk about how to setup a funnel report in Google Analytics 4, and in this post we're going to talk about the details of setting up the funnel steps (we left this out of the original post to keep it from being way too long).
This isn't a post about the best way to create funnels or how to plan your funnels, so we'll keep it simple here with a very basic funnel. The funnel we have here is a landing page with an opt-in form (Step 1) that redirects to a thank you page (Step 2) upon successful submission. In our example we're using a HubSpot form, but you can use any form you like (we also use Ninja Forms very often) as long as you are setting the form to redirect to a thank you page upon submission.
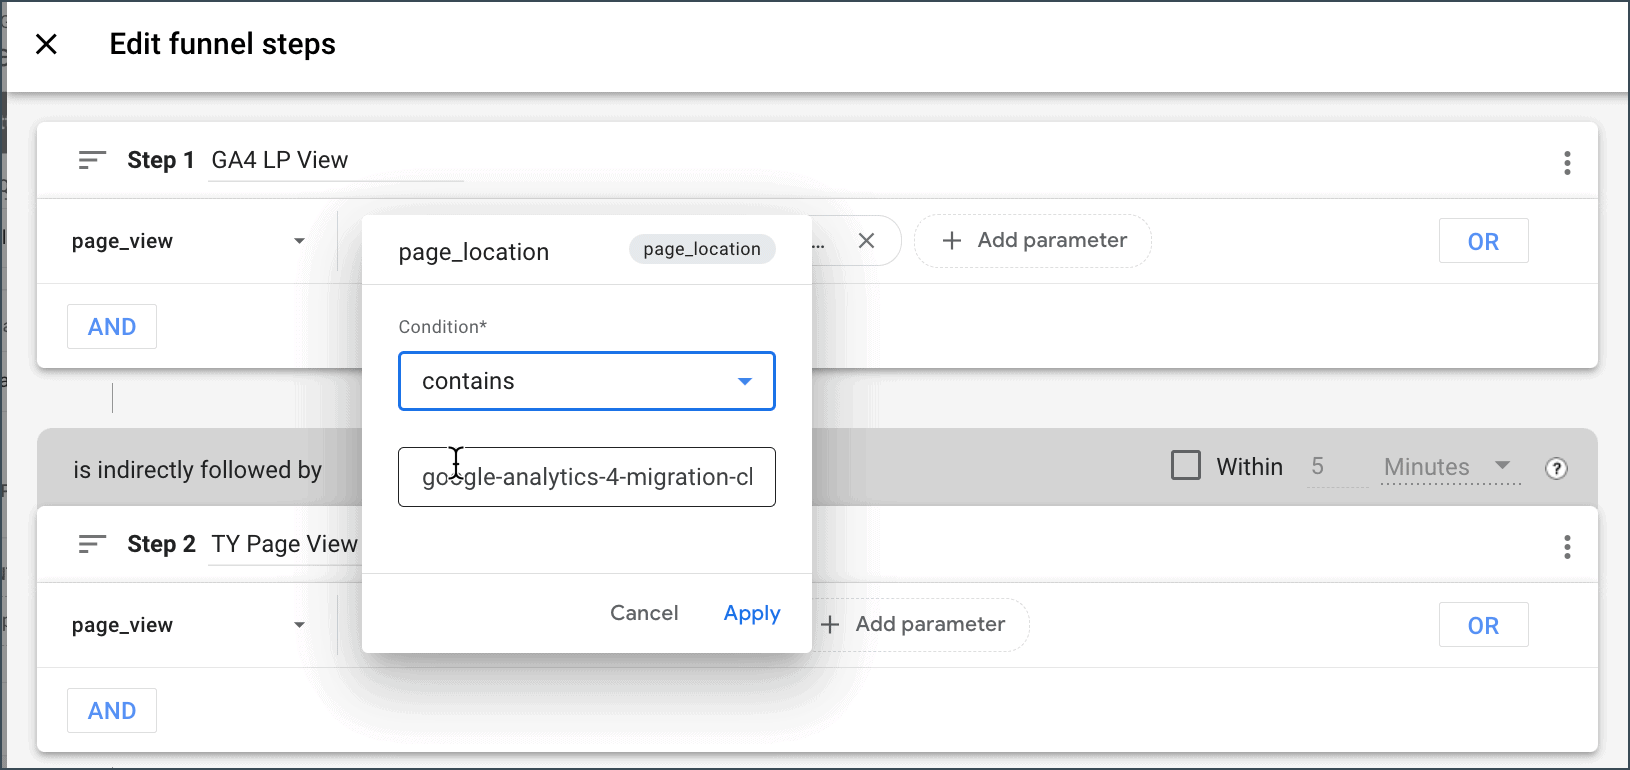
If you've been following along in our previous post, we're up to setting up the steps. Let's navigate to Explore and let's select the funnel we were working on.
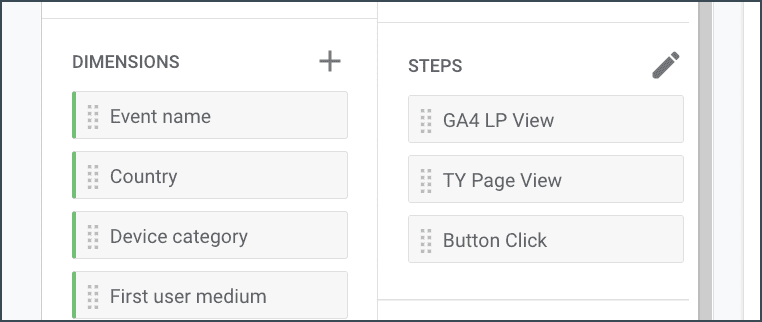
Once we're in the report, let's take a look at the Steps section:
In our case we have the funnel set up already, but you can click the pencil icon to start editing your funnel and adding your steps. In our case we have a 3rd step (bonus at the end with events) but for now let's setup your first two steps. These steps will be your landing page and your thank you page so make sure you have those URLs handy (or URIs as our lead developer always reminds me 🙂 ).
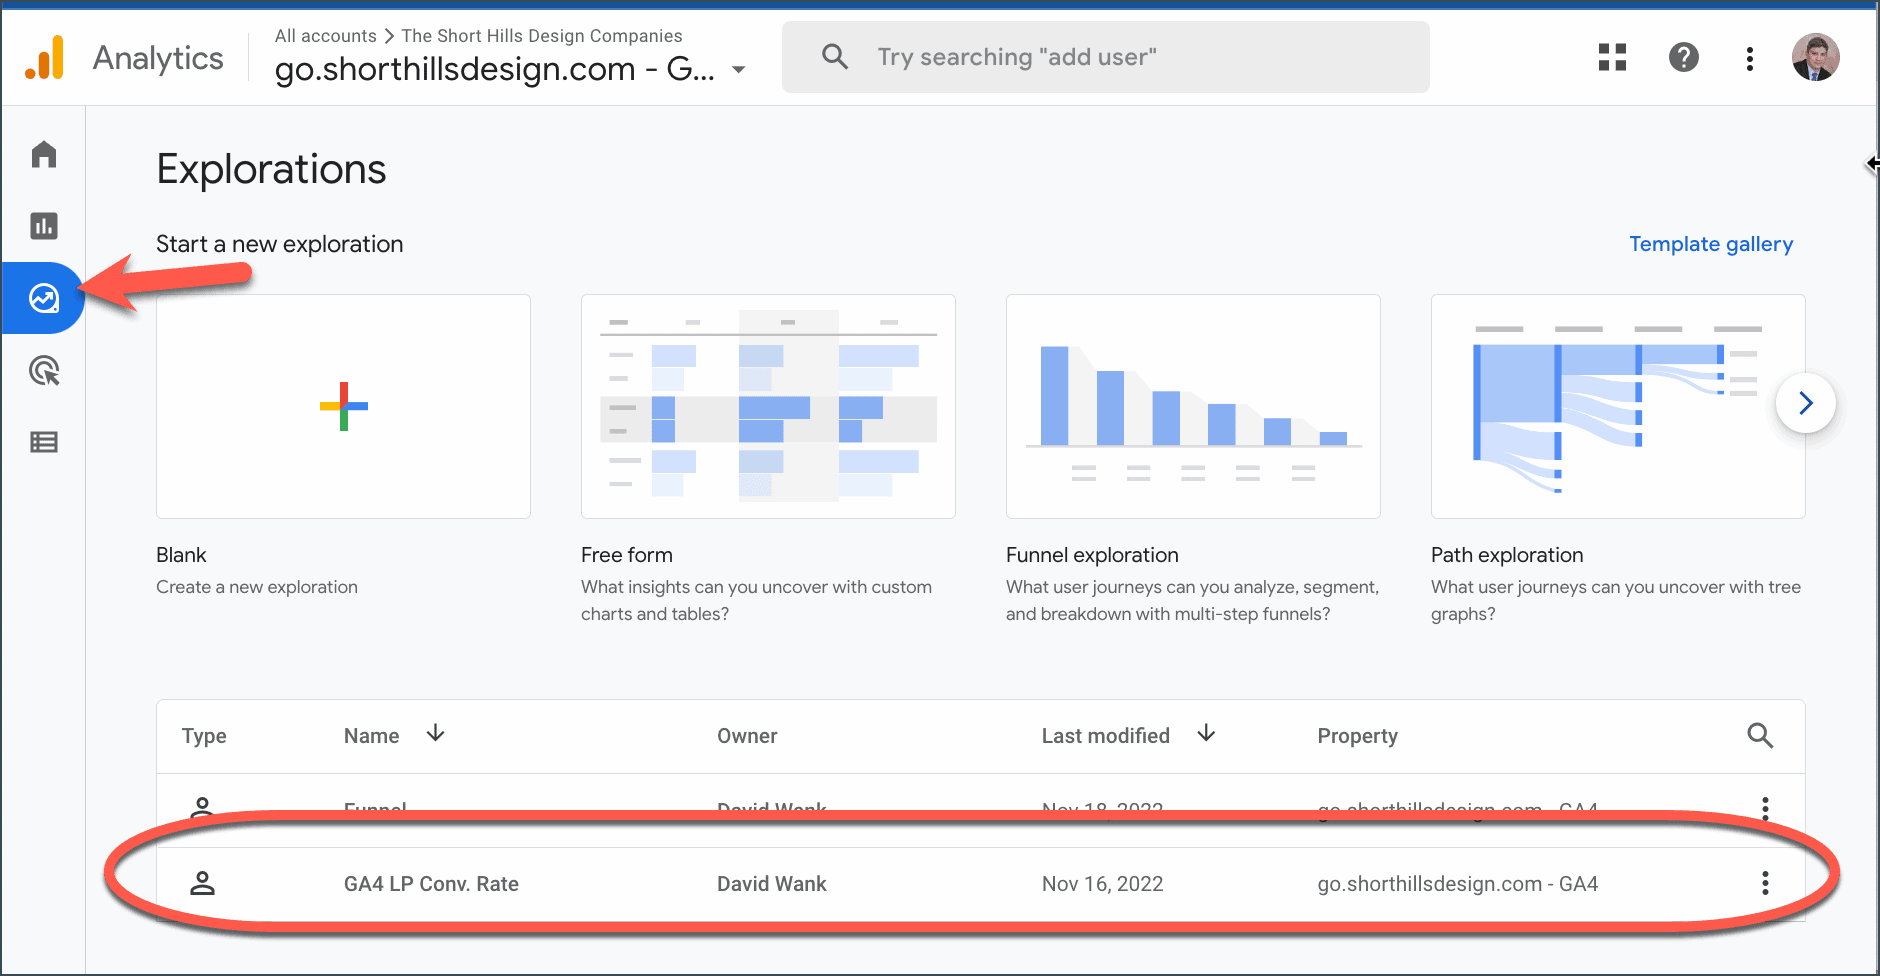
When you click the pencil you'll see a screen like this below. Select "page_view" and then use the drop down to select how you'd like to narrow it down to your landing page.
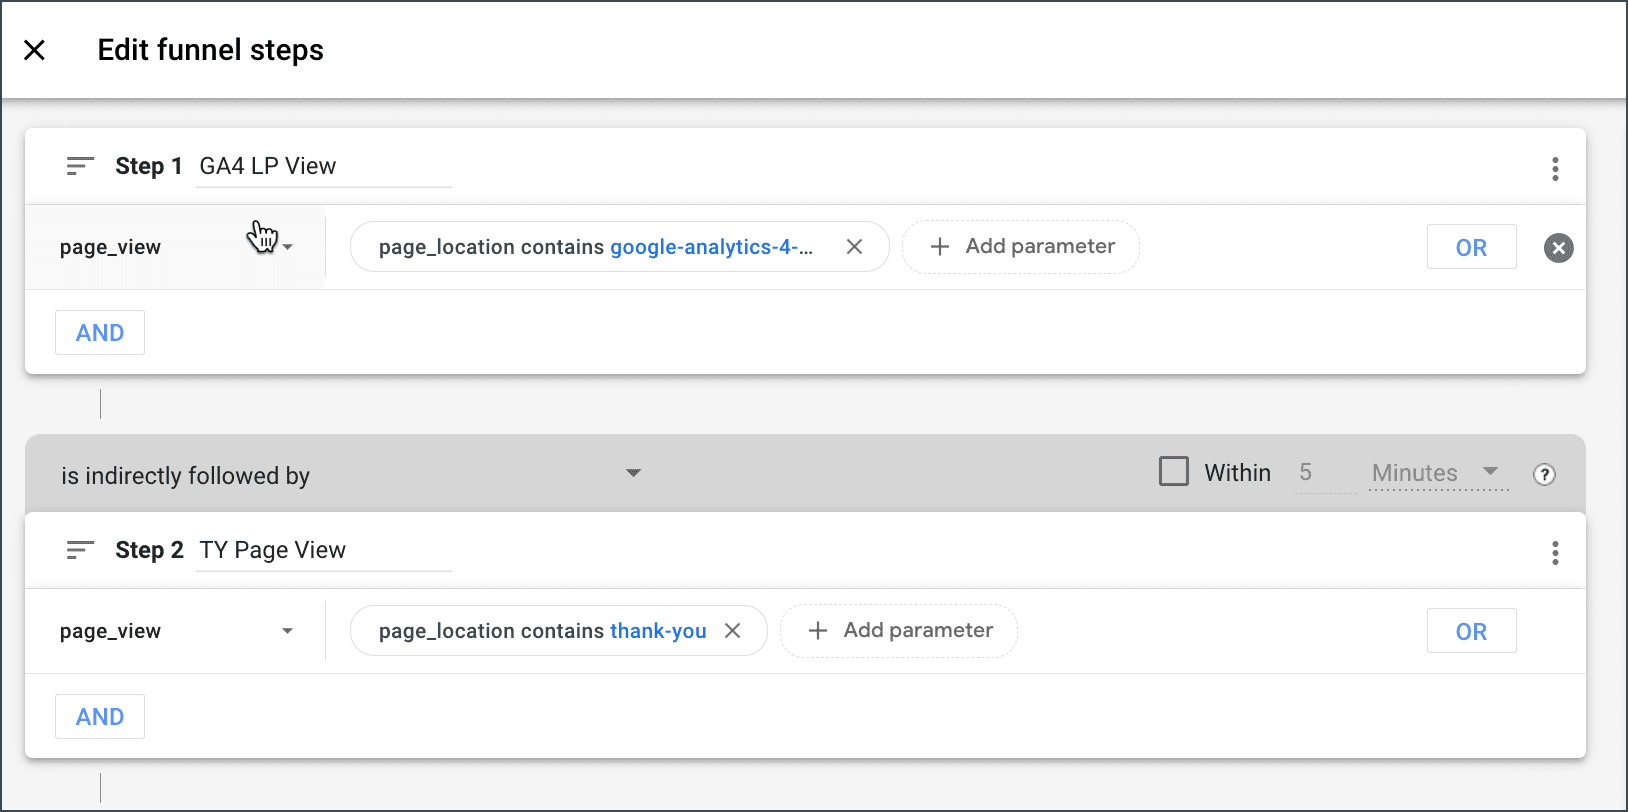
In my case I like to use "contains" and place the URL without forward or trailing slashes. So if the URL is /our-cool-lead-magnet/ you'd enter "our-cool-lead-magnet" (without the quotes) as that would satisfy the "contains" filter.
Once you've selected your first funnel step, make sure you edit the title (next to Step 1 at the top left) to something that makes sense to you. What you can also do at this point to check your landing page selection is look to the circle on the right side of the screen to see how many people are in your funnel (or who have visited your landing page). Make sure that this number makes sense at this point because your next step is based on this first step:
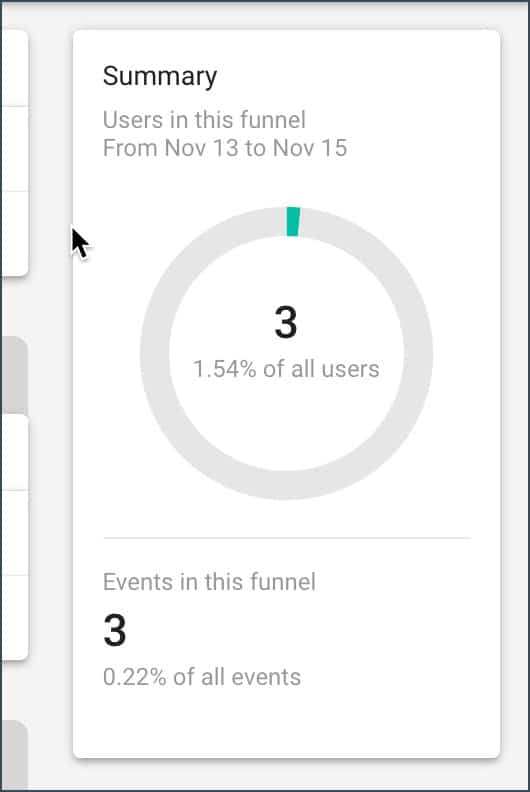
In the case above we only have 3 users listed, which I know is inaccurate. So I'll go back and see if I put the page name in incorrectly, etc. until I figure out how to get my numbers in the circle above to match (or come very close) to what they should be (remember that GA4 is strange about when it reports data from "today" and where is doesn't.
Now that we've got Step 1 in place, rinse and repeat for Step 2 for your thank you page.
You should see the number in the circle decrease (unless of course you have a 100% conversion rate) and this number should now match your conversions for the landing page. So now if your landing page and thank you page numbers are pretty close, you can save your steps and look at the data.
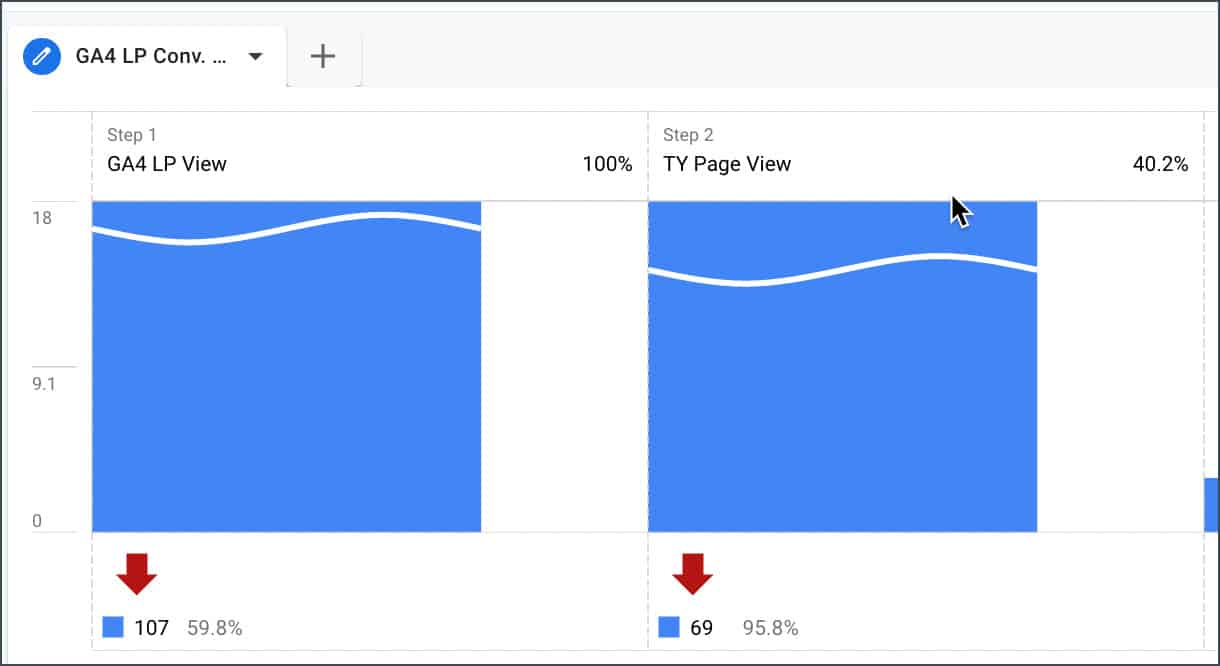
In the image below we can see that we have 107 visitors to the landing page with 69 visitors to the thank you page, or a conversion rate of 40.2%, which I'll take any day of the week!
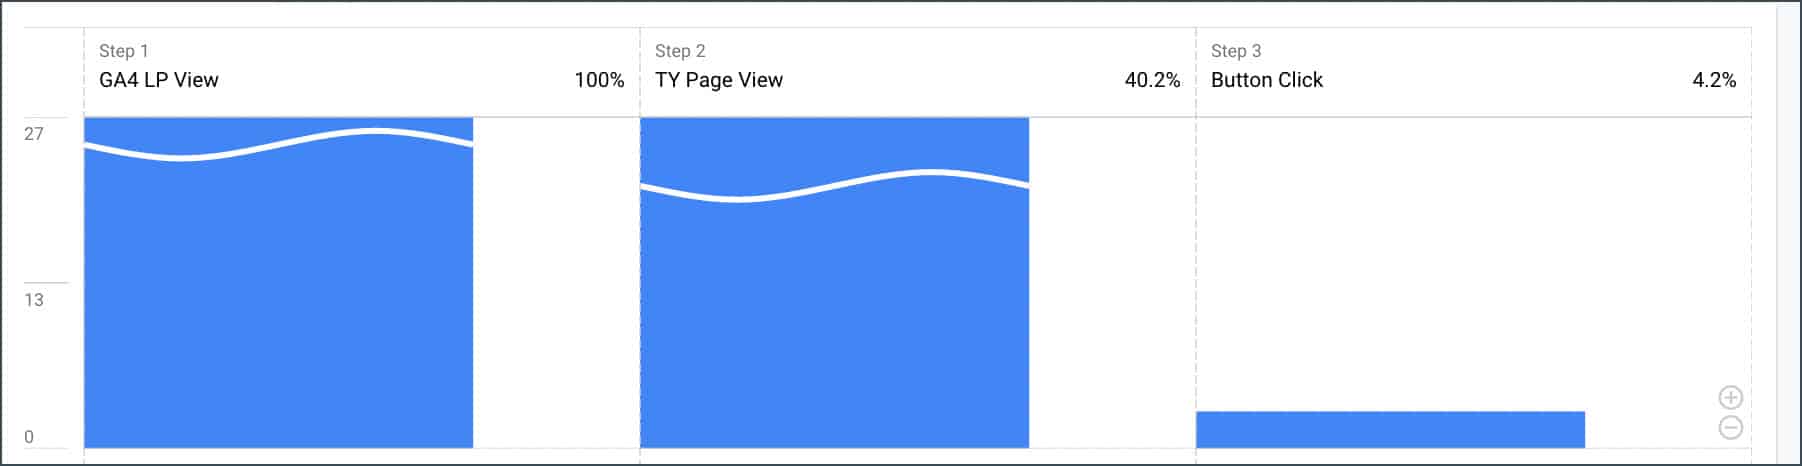
On our thank you page I have a button for a special offer, and I wanted to see what percentage of visitors clicked this button. I had already setup an event in Google Tag Manager (a link click event) for the button as I did want to see the number of button clicks we get vs. sales on the special offer. But to make my funnel even cooler (at least to me 😉 ) I added a third step to the funnel which is the button click event.
You can see from the data below that once visitors hit the thank you page, we have a 4.2% click rate on the button. And since I track the number of sales from this click source, I have a good idea about the revenue we generate from these button clicks.
And now that I know that we have a 4.2% button click rate, we can now run split tests (we use CrazyEgg and Google Optimize) to try to improve our thank you page and increase the button's CTR.
Tracking your funnel data is a critical aspect of any marketer's data-based toolbox, and in this post we talked about how to setup the funnel steps in a Google Analytics 4 Explorer funnel report. For a full look at how we setup the report, visit our blog post about setting up funnel reports in Google Analytics 4.